
Hi! Our first MOPS craft is a pretty covered notepad. The uses are endless for this notepad. I've used mine for a grocery list, sermon notes, and budget planning.It's fairly simple & very inexpensive, but the result is a beautiful, embellished notebook to record your thoughts.
SUPPLIES:
1- 12x12 scrapbook paper (two-sided is best, but one-sided works fine)
1- mini legal pad
2- 1/2 inch brads
1 length of twine, string, embroidery floss
2 - 8 inch pieces of ribbon
glue, sticky dots, or double-sided tape
scissors
hard edge to make a crease (credit card, craft stick, etc.)

1. Place the scrapbook paper right-side-down. Center the notepad about 1.5 inch down from the top & fold the paper down to crease.


2. Align the top of the notepad with the folded crease. Fold the bottom of the scrapbook paper up about 2.5 inches, to cover the back cardboard of the notepad. Crease the fold there.


3. Wrap the sides of the scrapbook paper around the notepad & gently crease the folds. The 2 sides should overlap about an inch or so. Take out the notepad & use the hard edge to crease the left & right folds.


(NOTE: using a hard edge will give you a more crisp fold, much like a greeting card's fold. You can fold it by hand & smooth the creases, but a hard edge will look more finished.)

4. Fold in the left & right flaps about 1/4 inch. (You can use a pencil to mark the line to make it easier to see where to fold.) Use the hard edge to crease the folds. Lightly glue the LEFT AND RIGHT folds down.


5. Glue a strip of ribbon to the inside edge of the left & right sides. This will cover the paper seams & make the inside of your notepad look pretty!


6. While the glue dries, choose 2 jeweled brads. Tie a short length of string to one brad. Use glue to reinforce the knot if needed.


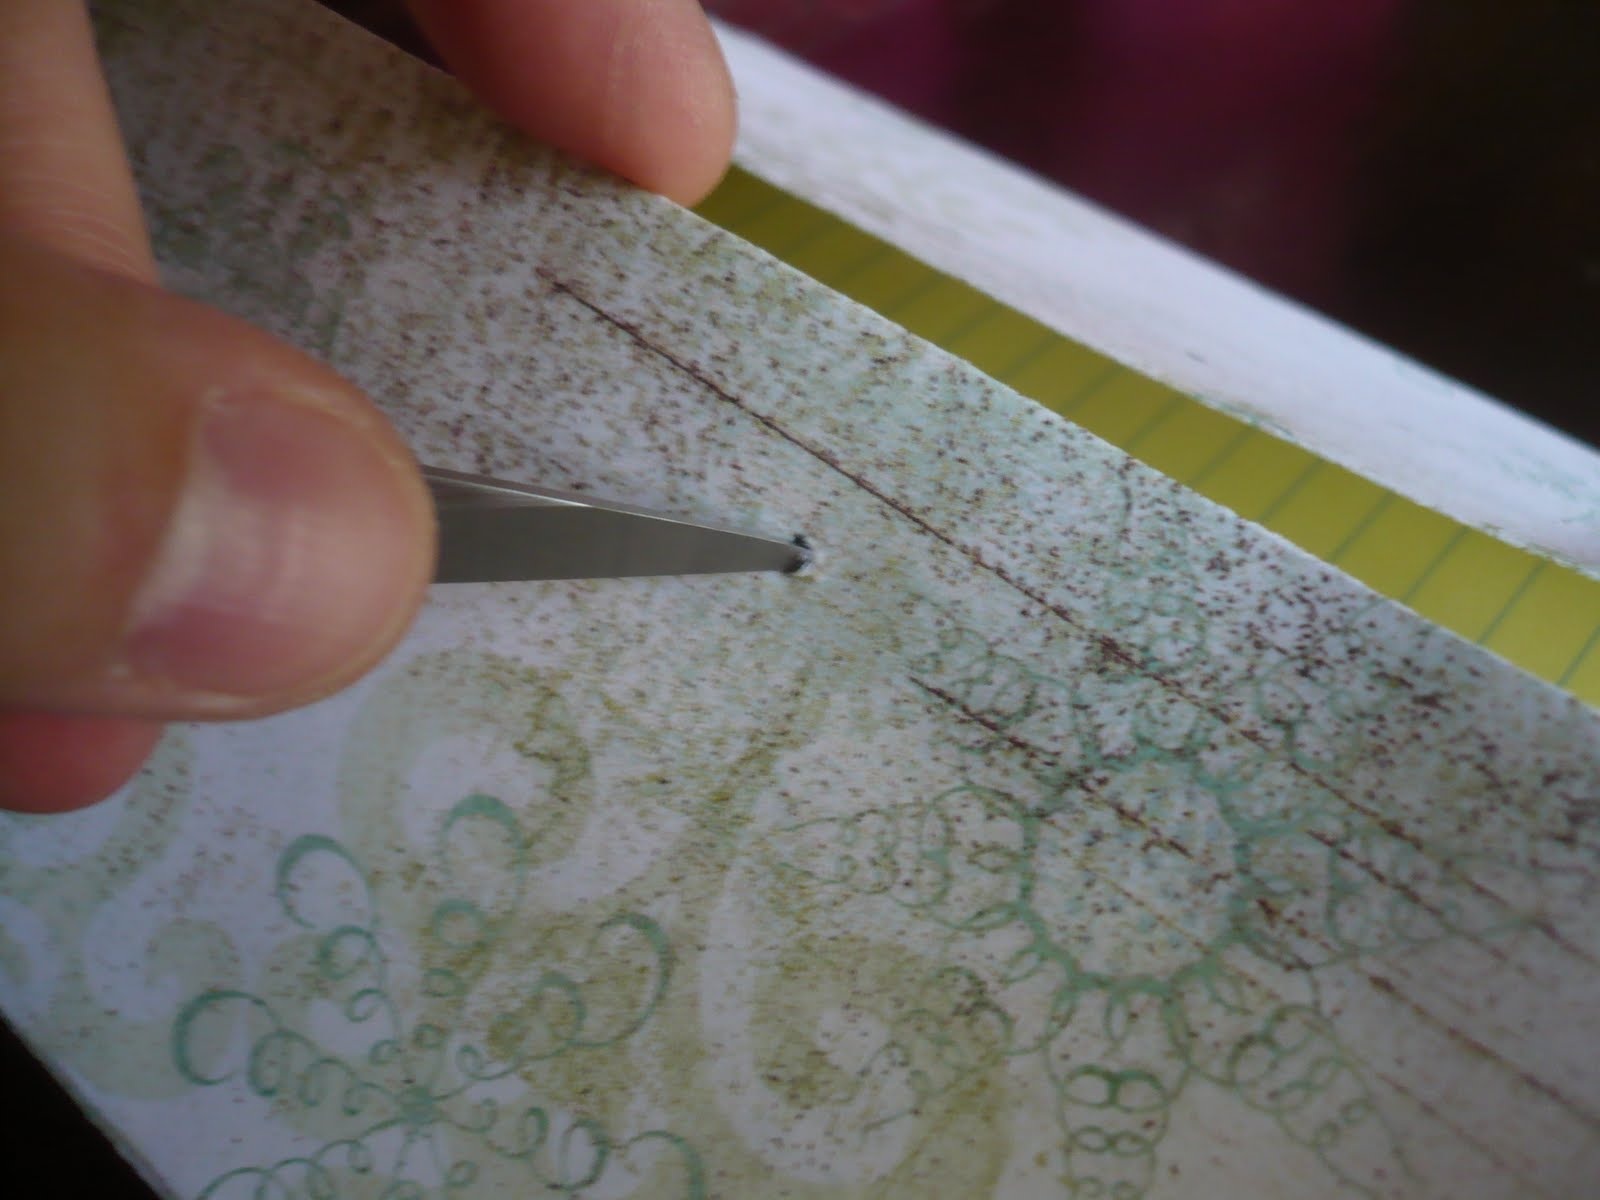
7. Close the flaps & mark a spot about 1/2 inch from the opening. Pre-poke a hole for the brad with scissors, a sharp pencil, a toothpick, an earring post, etc.


8. Insert the brads into each hole & open the tabs to secure. Wrap the string around the brads in a figure-8 to close the cover of the notepad. Embellish the cover however you want!


Ta-Daaaa!

I'd love to see other people's version of this pretty little notebook. Send me a link in the comments & I'll be happy to post it here on the blog.
No comments:
Post a Comment